
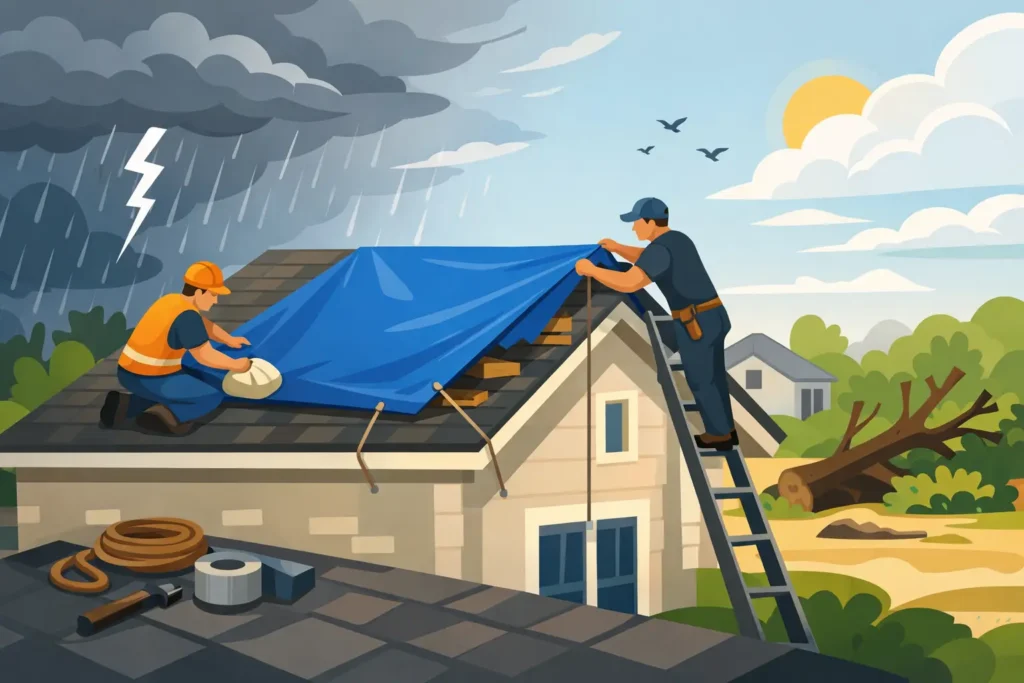
A roof can look mostly intact from the driveway while wind-lifted shingles, hail strikes, or a fallen branch have opened a path for water. An emergency roof tarp after storm damage is not a cosmetic fix. It is a temporary measure to stop further interior damage while the roof is inspected, documented, and repaired correctly.
For North Texas homeowners, speed matters, but safety and documentation matter just as much. A rushed tarp installed over wet decking, loose shingles, or an unstable roof can create a greater problem than the storm itself. The right response protects your home as an asset without making assumptions about whether a repair or full replacement is needed.
1. Check for danger before checking the roof
Start from the ground. Stay clear of downed power lines, damaged trees, loose gutters, and roof edges. If water is entering near electrical fixtures, turn off power to that area only if it can be done safely. If there is active sparking, structural movement, or standing water near electrical equipment, contact emergency services or a qualified electrician before taking further action.
Do not climb onto a roof during rain, lightning, high wind, or immediately afterward when shingles and decking may be slick. Even experienced roofers assess access conditions before stepping onto storm-damaged roofing. Homeowners should not risk a fall to inspect a puncture that can be documented from inside the attic or from ground level.
Inside the home, move furniture, rugs, electronics, and valuables away from active leaks. Use buckets to capture dripping water, and place towels around the area to limit spread. If the ceiling is bulging with trapped water, do not puncture it unless you understand where the water will drain and can safely control it. A saturated ceiling can fail suddenly.
2. Document the damage before temporary work begins
Take photos and short videos from safe locations. Capture damaged shingles, debris in the yard, dented metal components, exposed underlayment, fallen limbs, and any visible punctures. Inside, photograph water stains, wet insulation, damaged drywall, ceiling discoloration, and belongings affected by the leak.
Documentation should show the overall scene as well as close-up details. Include the date, keep damaged materials if practical, and make notes about when you first noticed the problem. This creates a useful record for your insurer and gives the roofing contractor a clearer starting point.
Avoid making permanent repairs before an inspection unless the situation demands it. Preventing further damage is responsible. Replacing broad sections of roofing or discarding evidence without documentation can make it harder to establish what occurred during the storm.
3. Know when an emergency roof tarp is necessary
A tarp is most useful when the roof has an opening or compromised area that could allow more water into the home before repairs can be completed. Common examples include a branch puncture, missing shingles that expose underlayment or decking, torn flashing, wind damage near a ridge, or a leak around a roof penetration.
Not every storm-marked roof needs a tarp. Hail bruising, granule loss, or dents in vents may warrant a professional inspection but do not always create immediate water exposure. A trustworthy assessment separates urgent weatherproofing from damage that can be addressed through a scheduled repair plan. There is no value in covering a roof unnecessarily, and there is no value in delaying protection when water is getting in.
A tarp also does not solve the underlying roofing issue. It is a short-term barrier, not a substitute for manufacturer-standard repairs, proper flashing, ventilation review, or a complete replacement when the roof system has reached the point where repairs are no longer sound.
4. Use the right tarp and installation method
If conditions are safe and you have the experience to install a temporary cover, use a heavy-duty waterproof tarp large enough to extend well beyond the damaged area. The tarp must cover uphill from the opening so water sheds over it instead of traveling underneath it. A small tarp placed directly over a hole often fails because wind-driven rain can work under its edges.
The material should be secured in a way that holds against wind without creating additional roof damage. Fasteners driven carelessly through shingles or decking can add leak points. In many cases, professionals use wood battens to secure the tarp edges and route water away from the exposed area. The exact method depends on roof slope, material, damage location, weather conditions, and whether the roof deck is still stable.
Never cover vents in a way that blocks necessary airflow for an extended period, and do not attempt to tarp a roof with major structural damage. If a tree has penetrated the roof, decking is sagging, or rafters may be compromised, the priority is securing the area and getting professional help. A tarp should not place weight or pressure on weakened framing.
Why blue tarps are not all the same
The thin plastic tarp left from a camping trip may be better than nothing for a brief emergency, but it is not designed for prolonged UV exposure, wind load, or repeated rain. A roofing-grade tarp is thicker, larger, and installed with the roof’s drainage pattern in mind.
Even a quality tarp needs monitoring. High winds can loosen edges, create abrasion against shingles, or collect water if it is installed with low spots. After conditions clear, inspect the area from the ground and look for shifting, pooling, or new interior moisture.
5. Limit moisture damage inside the house
Once the roof is temporarily protected, focus on drying the interior. Run fans and dehumidifiers where safe, particularly in the attic and rooms below the leak. Remove wet insulation only when necessary and avoid disturbing materials that may conceal electrical hazards or contamination.
Water intrusion is often more extensive than the visible ceiling stain. Moisture can travel along rafters, framing, insulation, and drywall before it appears in a room. A professional roof inspection should consider the source of the water, while interior restoration decisions should account for how long materials remained wet.
Watch for a persistent musty odor, expanding stains, peeling paint, soft drywall, or warped flooring. These signs do not automatically mean major reconstruction is required, but they do mean the area needs prompt evaluation. Early drying and accurate repairs can prevent a manageable roof leak from becoming a larger interior project.
6. Contact your insurer with facts, not conclusions
Report the damage promptly, but describe what you observed rather than diagnosing the roof yourself. You can state that wind removed shingles, a branch struck the roof, or water entered through a damaged area. Let the inspection determine whether the storm damage supports a repair, replacement, or another scope of work.
Keep records of emergency expenses, temporary protection, cleanup, and damage to personal property. Save receipts and maintain copies of photos, correspondence, and claim information. If an adjuster visits, a clear record of the conditions before and after the tarp was installed can help establish that temporary work was performed to mitigate further loss.
Insurance claims can be detailed, particularly when storm damage overlaps with normal roof aging or prior wear. A roofing contractor who documents conditions carefully can provide measurements, photographs, damage observations, and a repair scope that supports an informed conversation. That is different from promising an insurance outcome or pushing a replacement before the evidence is reviewed.
7. Schedule a professional inspection and repair plan
After the immediate threat is contained, the next step is a full inspection. The contractor should evaluate more than the visible opening. That includes shingles or roofing panels, underlayment, flashing, valleys, vents, pipe boots, ridge components, gutters, decking condition, and attic signs of moisture.
The right solution depends on the extent of damage and the age and condition of the existing roof. A localized puncture on an otherwise healthy roof may call for a targeted repair. Widespread wind damage, hail impacts, brittle materials, or compromised decking can change that recommendation. The goal is not to sell the largest project. The goal is to restore a weather-tight roof with materials and installation details that protect the home long after the tarp comes down.
DTM Builds helps homeowners throughout Sunnyvale, Rockwall, Heath, Wylie, Forney, and surrounding North Texas communities move from emergency protection to a documented, well-managed repair process. Clear communication, clean job sites, and workmanship built to manufacturer standards should remain part of the experience, even when the first call happens after a storm.
A tarp buys time. Use that time wisely: protect the interior, preserve the evidence, and get a clear assessment before deciding what your roof needs next.